Italian Roasted Peppers


Italian Roasted Peppers
Ingredients
Equipment
Method
- Preheat the oven to 180°c (350°f).
- Cover a rimmed baking sheet with aluminum foil and place the peppers on the pan.
- Put a drop or two of extra virgin olive oil on the outside of the peppers. Just enough to lightly coat the skin. If you have a brush, they would be a great time to break it to evenly distribute the oil over the peppers.
- Bake for 10 minutes, flip the peppers over, and bake for an additional 10 minutes.
- Remove from the oven and let the peppers cool on the baking sheet.
- While the peppers are cooling, prepare the pickling brine.
- In a pot, combine the lemon juice, vinegar, olive oil, garlic, red pepper flakes, salt, black pepper corns, bay leaves, and mustard seeds.
- Bring to a boil and then reduce heat to low.
- After reducing the heat, cook for 10 minutes.
- Remove from the heat and let the brine cool.
- While the brine cooling, remove the skins, seeds, and stems from the peppers.
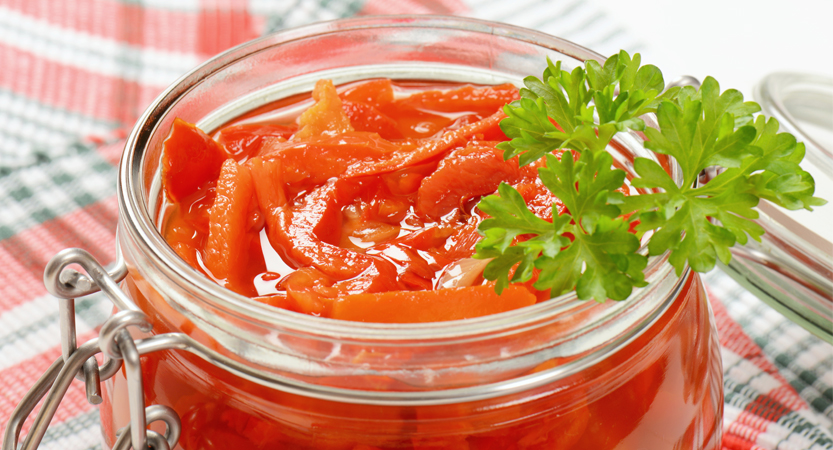
- Slice the pepper lengthwise and place into the jar.
- Once all the pepper have been cut and placed in the jar, add the cooled brine.
- The brine should cover the pepper entirely.
- Seal the jar and place it in the refrigerator.
- Allow to sit for one day before eating.
Notes
Italian Roasted Peppers; An all time Favorites

This is one of our all time favorite recipes. We have a deep love for Italian roasted peppers in oil because they are just impossible to find in Japan. They are also so easy to make.
Don’t be deceived. This recipe looks like a lot of work, but actually it comes together really fast. It doesn’t take much work at all, so don’t get nervous. The ingredient list is rather lengthy as well, but most of this stuff is typical kitchen stuff.
To be super specific on two ingredients; oil and vinegar make this recipe. Only use extra virgin olive oil. No exceptions! When it comes to vinegar, white, rice, or apple vinegar all get the job done. Don’t get the cheapest vinegar you can find. Try for something middle of the road. Remember that a good portion of the taste will come from these two ingredients. Plan accordingly.
They Work With All Things Italian
Italian Roasted Peppers work as a great antipasto to almost an Italian main dish. Try them serving with or before these recipes:
No Trick To Perfect Italian Roasted Peppers

This is the part that confuses most people; peeling of the peppers.
Firstly, you want to make sure these little devils have cooled down. Don’t underestimate how hot the inside can be. They usually harbor steam and water, which will explode forth when you start to peel. They will burn the hell out of your hands.
One way to deal with this is to run cold water over the peppers. It will cool them down quickly, and peel the skins right off. However, I would advise against doing this. The water strips the peppers of the oil they were cooked in. The end result is some of the taste has been robbed.
Instead, take the peppers over to the trashcan, turn them upside down, and remove the stem. The seeds and excess water will dump right out.
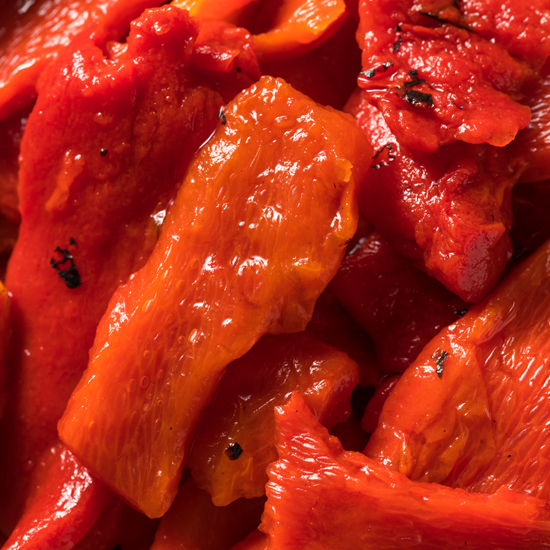
The skins of the pepper should be loose to the touch and come away from the flesh of the peppers without much work. If not, this means you didn’t cook the peppers long enough. In that case, put them back in the oven for another 10 minutes.
Finally, when it comes to the color of the peppers, we’ve had best results with red peppers. Green bell pepper should never be used. They aren’t sweet enough nor do they have the fleshy thickness needed. Yellow and orange bell peppers are ok, but they are not as ripe as red peppers. For this reason, they are not as sweet. Aesthetically, it would look nice to use as many colors as possible, but we need to aim for flavor over form.
No Kits Needed

If you don’t have a jarring kit, don’t worry. We don’t have one either. You don’t need a jarring kit to make and enjoy these peppers.
Recycle a jar that you’ve just used. Make sure you still have the metal twist top. Tomato sauce jars work really well for this recipe. It should go without saying, but make sure you clean it really well.
The plus side of not using a jarring kit is that it’s cheap and doesn’t require any special equipment. The down side is that these peppers won’t last long. We’ve kept out pepper for about a month in the fridge. Since they are sitting in oil and spices, they should keep fairly well in a cold place like the refrigerator. FYI, don’t freeze them. They will turn into a mushy mess when they defrost and will be gross. As always, use your best judgment after a week. If there is mold growing on them or they smell funny, toss them.
Get your cooking groove on with some classic Italian tunes.
